Walkern History Society initiated a project “Making Sense of our village : above and below ground”, the plan being to dig a number of test pits across the village to build up a picture of how the village has developed over time.
Test pits can reveal physical artefacts, typically more recent finds being at the top and then increasingly older finds as the pit gets deeper. By digging a number of pits across the village, this provides data on how the village was inhabited through history. Even if a pit reveals nothing this still tells us something about the history of that area.
The details of each test pit can be found on this page. However if you’re interested in understanding what happens on each Test Pit Dig read on…..
Choosing where to dig
Test pit locations have been chosen based on a number of factors. Firstly we need to have the landowners permission to access the land and perform the dig. We may have a theory about the history of the area and are looking for proof, e.g. was the area habited in medieval times, or it may be in a location of historic interest to the village (e.g. Walkern Mill).
Marking out the test pit
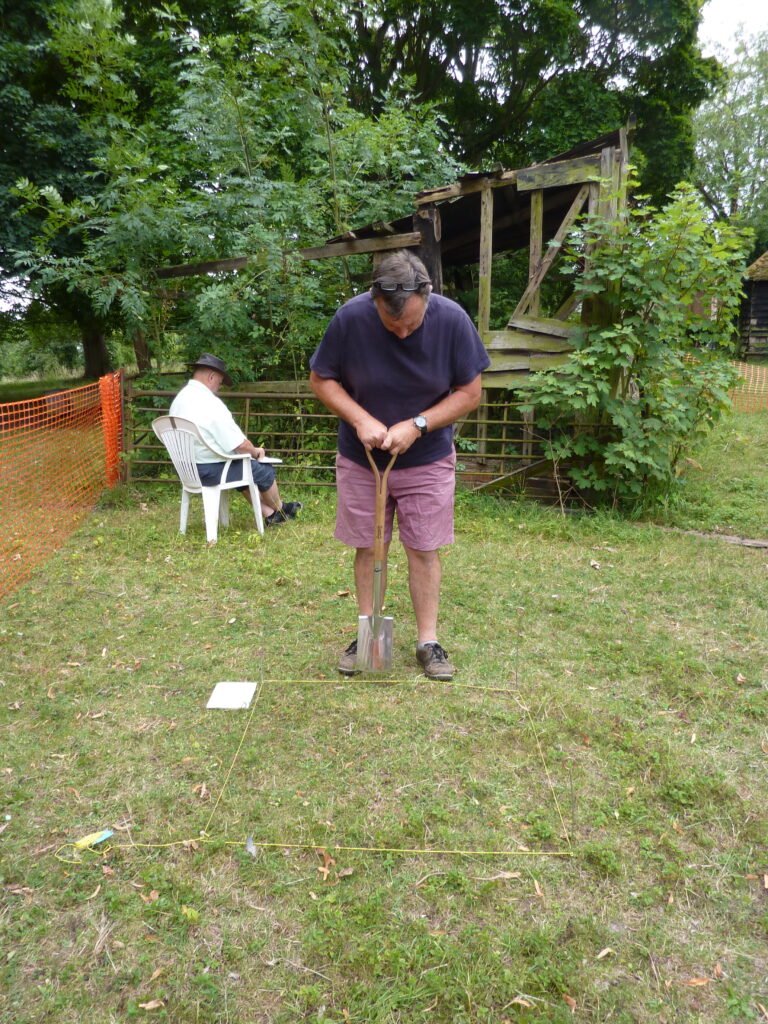
A 1 meter square is marked out for the test pit.
The exact location does need some consideration, far enough away from trees to avoid big roots and from buildings to avoid drains etc.
Space around the test pit is also needed to be able to sieve and collect the soil, and to wash and dry the finds.
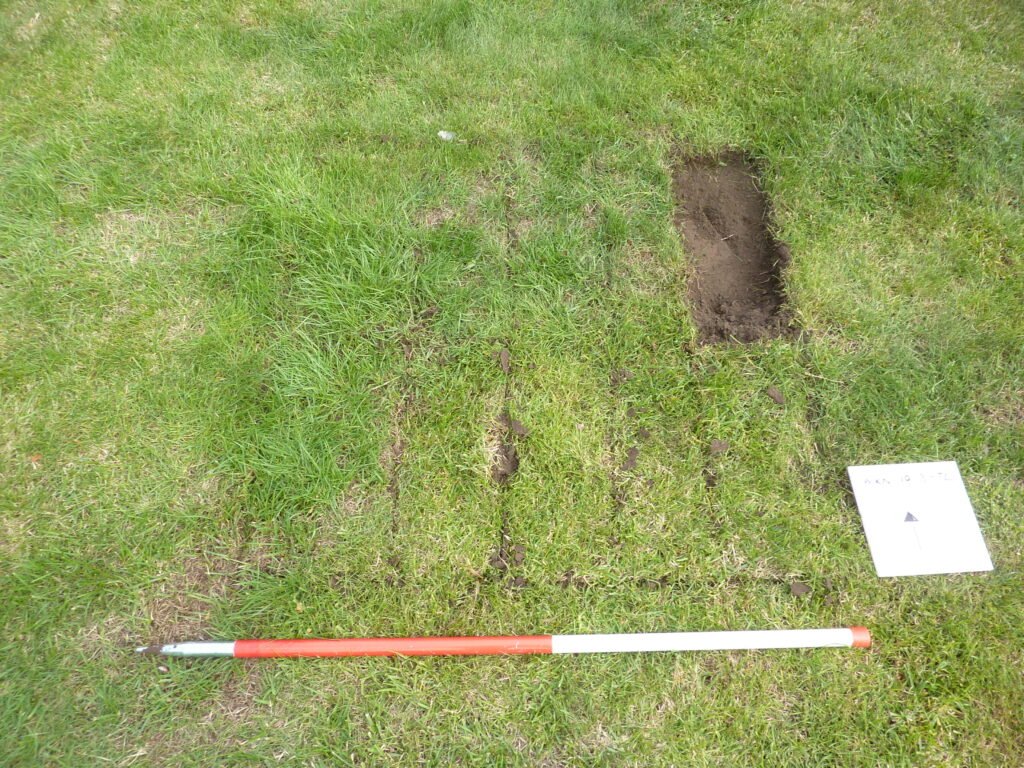
Removing the Turf
Turf is carefully removed from the pit and set aside so that it can be replaced at the end of the dig


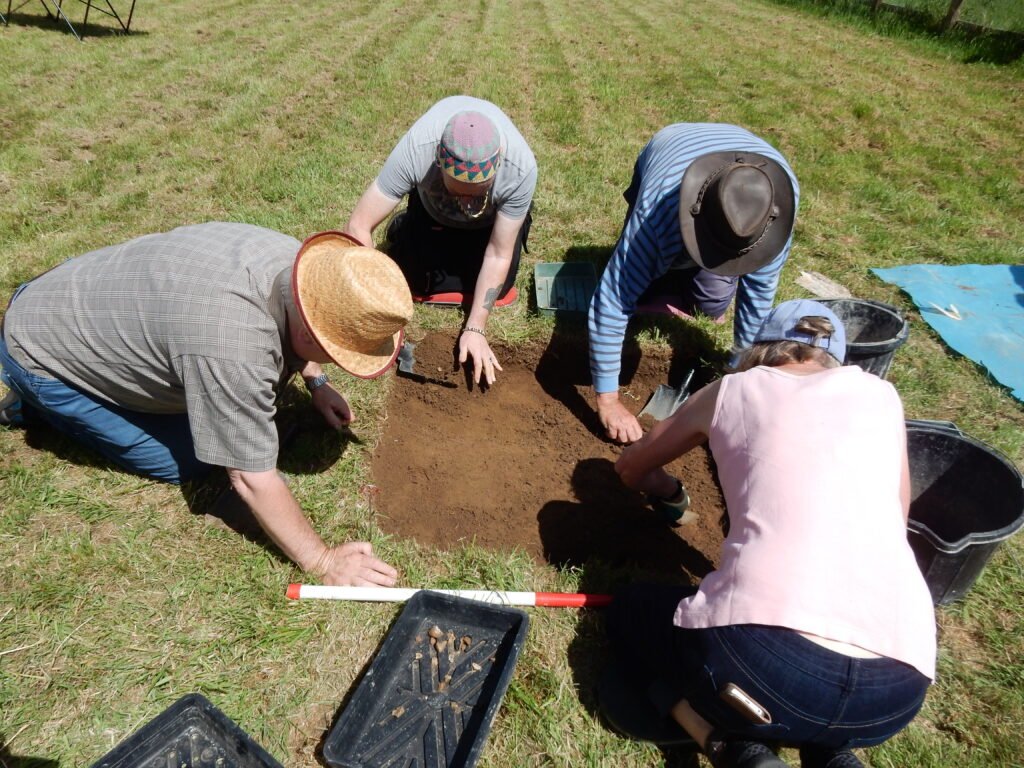
Digging
Soil is gently scraped away in layers called spits. Each layer being about 10cm in depth. Any item of interest is collected in a tray labelled with the spit number.
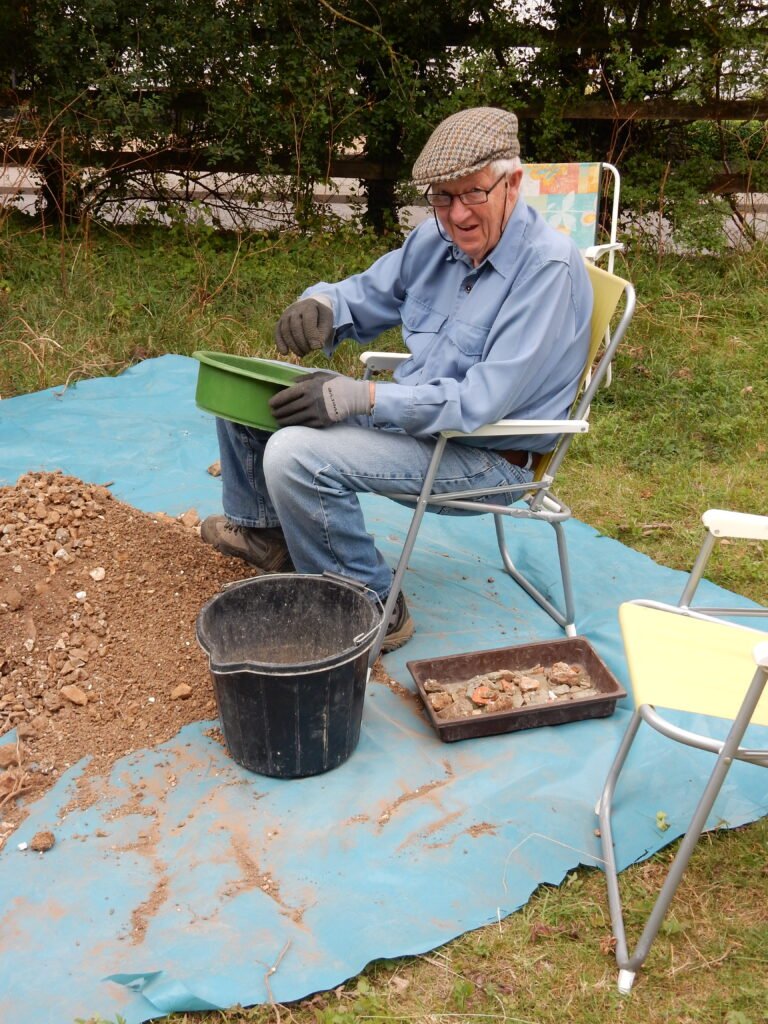
Sieving for Finds
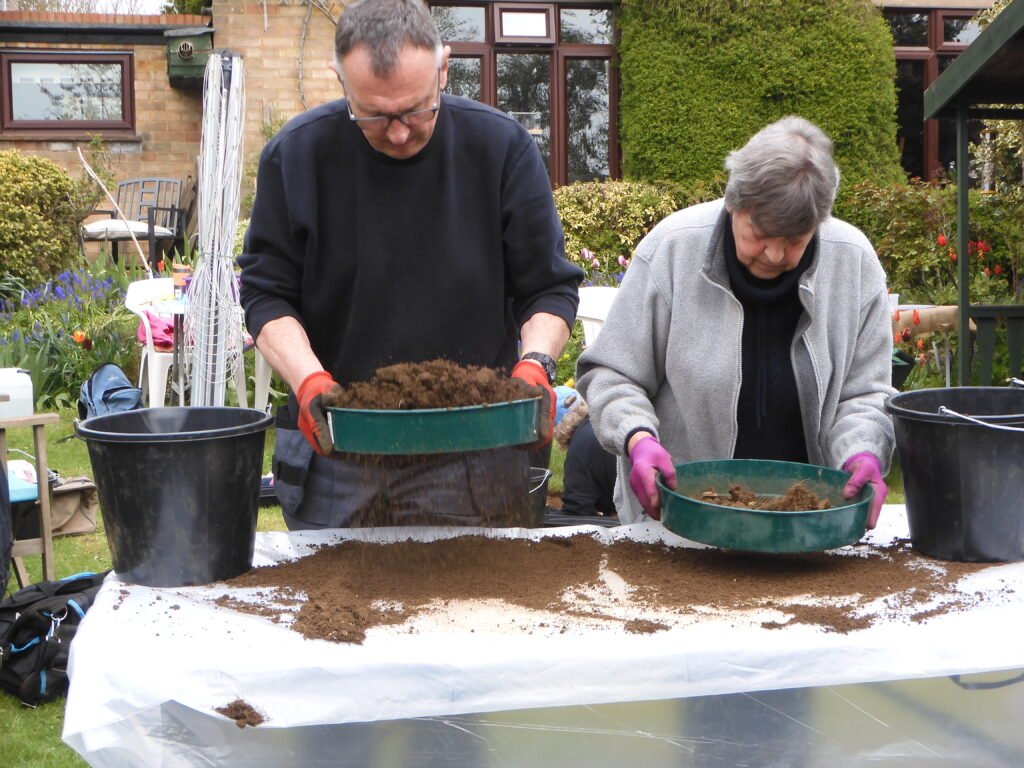
Soil is removed from the spit in buckets.
Each bucket of soil is then sieved and any item of interest removed.
As above, all items of interest are collected in trays labelled with the spit number.
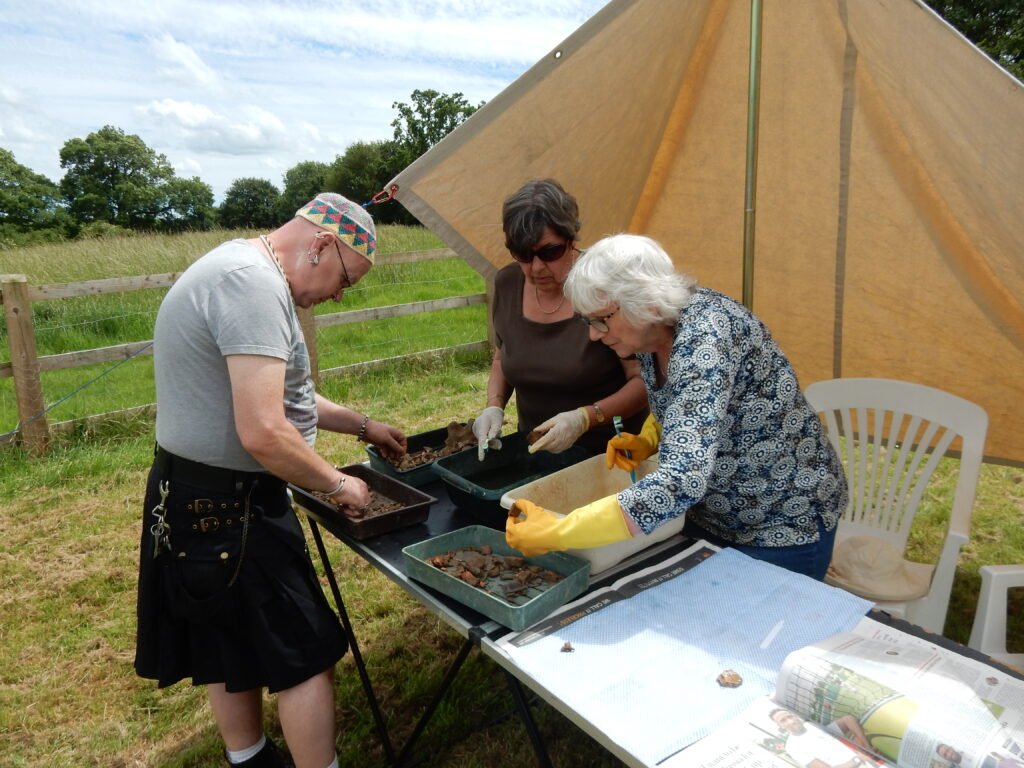
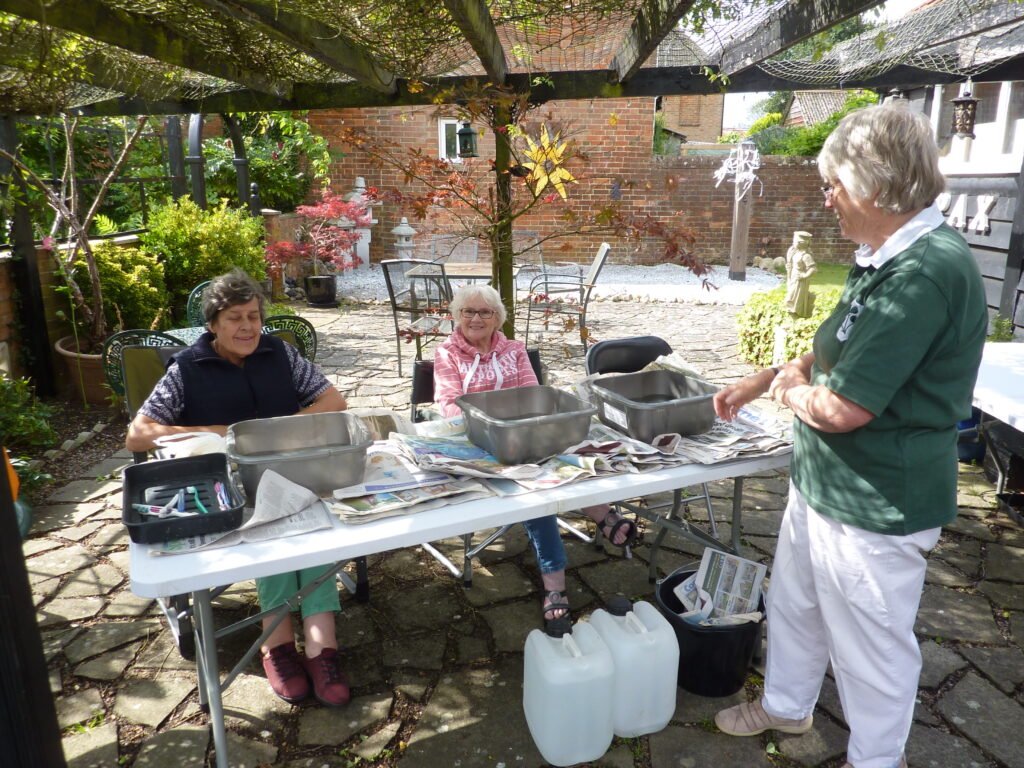
Cleaning Finds
Dirt needs to be cleaned away to enable the item to be identified and retained if considered a find. For metal finds, soil is brushed away using a small dry brush. For all other finds, water and a brush will be used. The finds will then be dried.
It is important to keep all finds from one layer (spit) together and labelled with spit number.
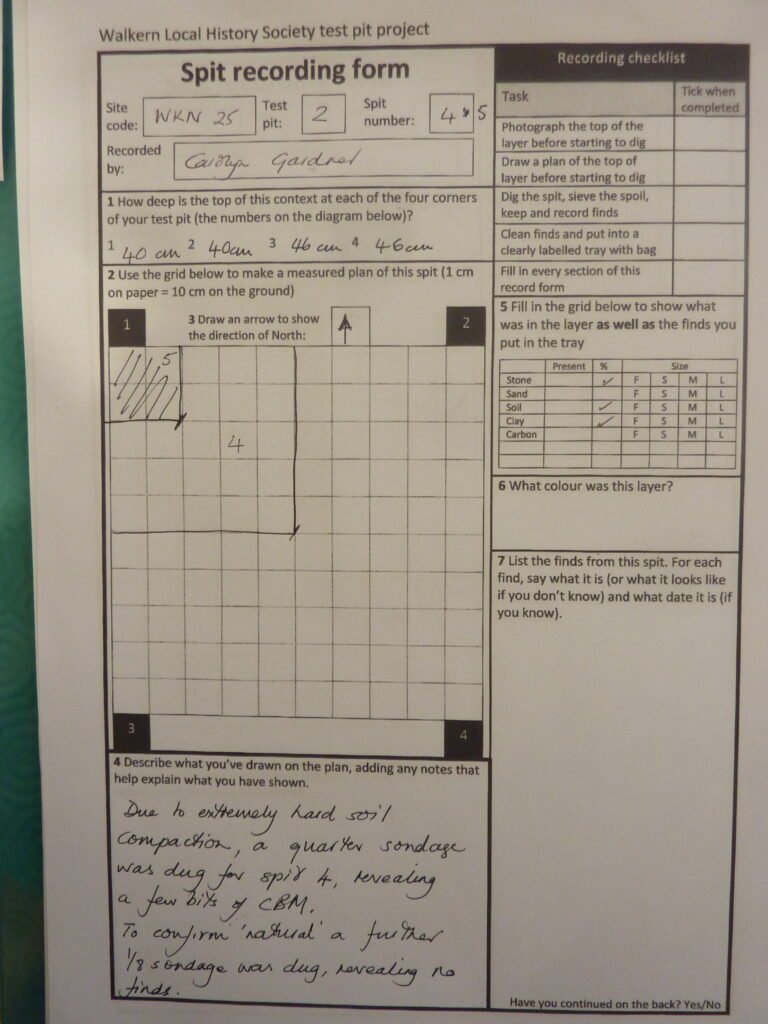
Record Keeping
Throughout the dig, records should be taken. This should include photographic evidence from every spit.


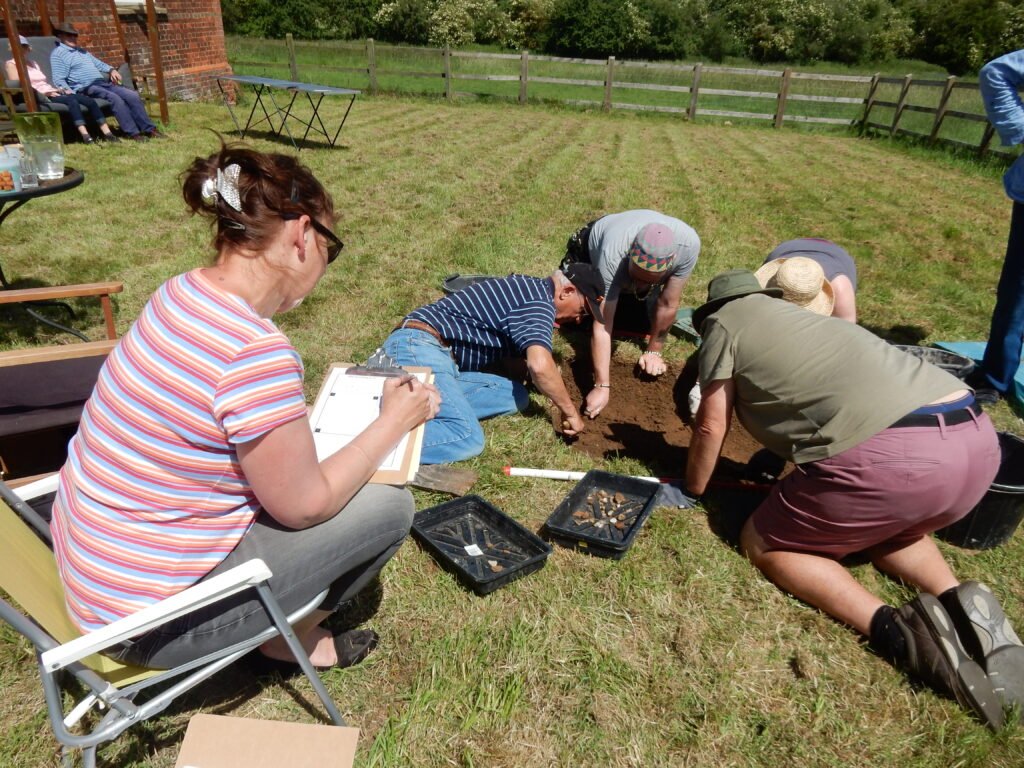
A record should also be made for each spit. This should include a drawing with description, measurements of the depth of each corner. The record should also include what was in the layer.
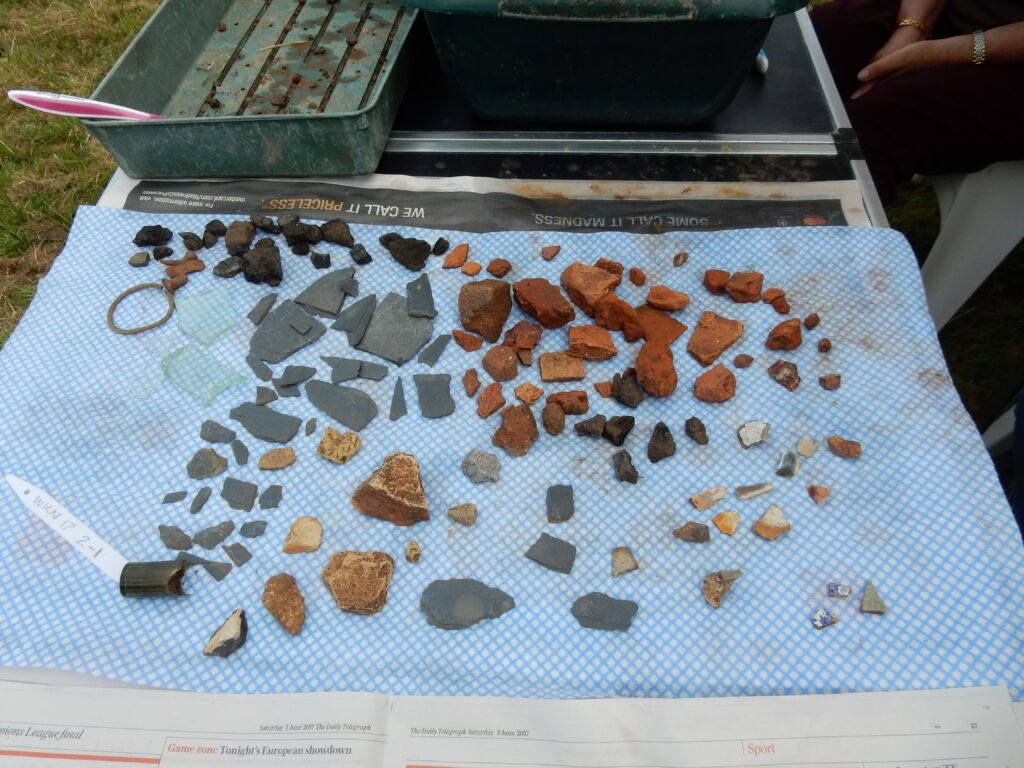
Identifying your Finds

During the dig it may be possible to identify some of your finds. Particularly if you have an archeological expert present.
These should be labelled with details of the dig and spit as well as identifiying the find.

Getting to the ‘Natural’
The aim of the test pit dig, is to dig until the ‘natural’ is reached. This is where there is no evidence of human activity.
To ensure that the natural has been reached, a ‘sondage’ may be dug. This is a smaller section that digs deeper, reducing the amount of digging while confirming no evidence of human activity.

Making Good
At the end of the dig, all of the soil removed is replaced back into the pit. The turf is then carefully laid back in place and the area is left as it was found.


Record your Location
We need to take measurements of where the test pit was located. ‘What three words, Ordnance Survey location and if possible measurements from any fixed objects.

Cataloguing


Once the dig is over, the finds are identified, photographed and catalogued. Records of the dig are also completed and archived.
What if we find treasure ?
By law any ‘finds’ located in a test pit will, of course, remain the property of the landowner as they have been located on their property.
Landowners are generally more than happy for the Society to record, retain and store items discovered in a pit. In reality, although of archeological interest, items found are generally pieces of stone, brick, glass, flint etc. and would not by any means attract any financial gain. However, if the property owner wishes to retain any item we ask that we may photograph and record it beforehand.
In the extremely unlikely event that precious metals i.e. gold etc. are discovered, by law it must be reported to the Coroner. An inquest will be held, and the find will normally be declared ‘treasure trove’ and returned to finder. Any significant finds (Coins, brooches etc) dated before 1700 should be reported to the Finds Liason officer covering the area the item was found in. In our case they are based at the Verulamium Museum in St. Albans. We have around 50 items being evaluated at the moment, discovered by metal detecting.
The Landowner may wish to consider donating any item to the History Society, museum or similar for future generations to enjoy, but they are, of course, within their rights to retain the item. Up until this time we have not discovered any precious metals.
How to get involved
We are always looking for more people to get involved, whether it’s during the actual dig or in helping to catalogue the finds. You can find details of our next dig on our events page here, or please contact us by email at curator@walkernhistorysociety.co.uk.